Arch Installation
You can find all the information you need to install in the Wiki here.
You will need the latest ISO. You can find it here.
I’m doing this in a virtual machine in virtualbox. It has 15G of space 2G of ram and 2 cpu cores.
When you boot up Arch you will get a Terminal and all you see is:
root@arhciso~#
Set keyboard layout
change the keyboard layout with following command.
loadkeys sv-latin1
“sv-latin1” is for a Swedish layout. You have to find your layout
Later you should try ping “8.8.8.8” to see if you have a Internet connection. Do that by typing “ping 8.8.8.8”
  ping 8.8.8.8
  PING 8.8.8.8 (8.8.8.8) 56(84) bytes of data.
  64 bytes from 8.8.8.8: icmp_seq=1 ttl=63 time=17.6 ms
  64 bytes from 8.8.8.8: icmp_seq=2 ttl=63 time=17.5 ms
  64 bytes from 8.8.8.8: icmp_seq=3 ttl=63 time=17.6 ms
  64 bytes from 8.8.8.8: icmp_seq=4 ttl=63 time=17.8 ms
If your output looks like this, you have internet.
You can stop the ping by pressing “Ctrl+c”
After the ping you need to update the system clock:
timedate set-ntp true
Configure disk partition
Run “lsblk” to see Your disk/disks.
  lsblk
  loop0 7:0 0 529.7M  1 loop0/run/archiso/sfs/airootfs
  sda   8:0 0    15G  0 disk
Here we can see that the disk is named “sda” and has 15G of space
The wiki recomends that you use fdisk but we’re going to use cfdisk
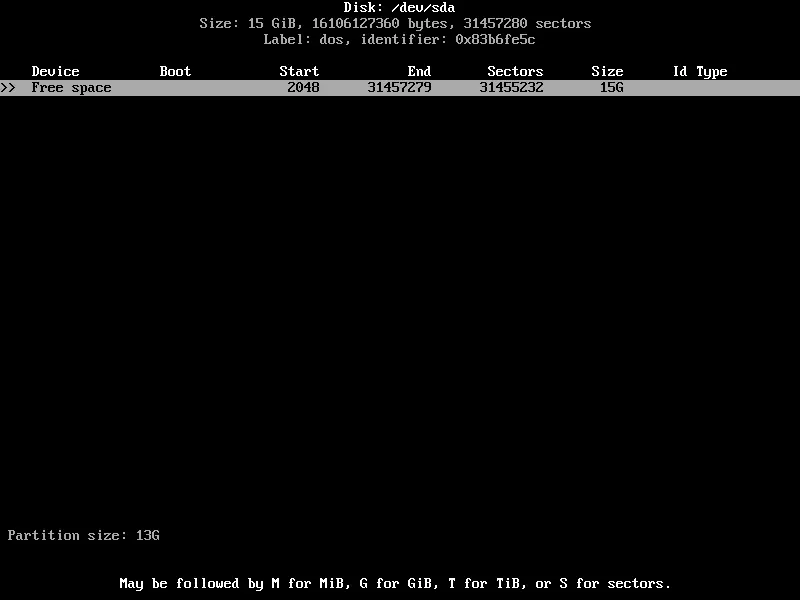
cfdisk
Chose “dos” as label type

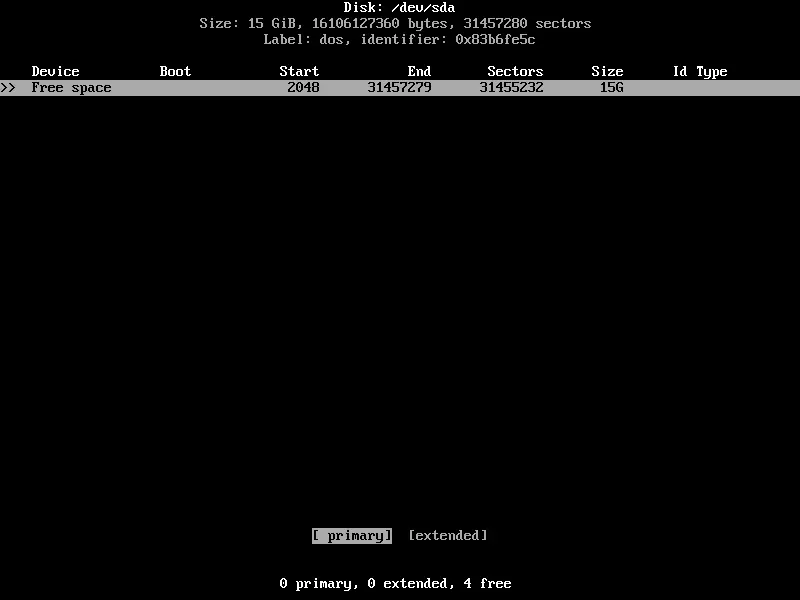
press enter om “New”

Make the partittion size 13G and press eneter
Chose as “primary”
Go to “Free space” and press enter.
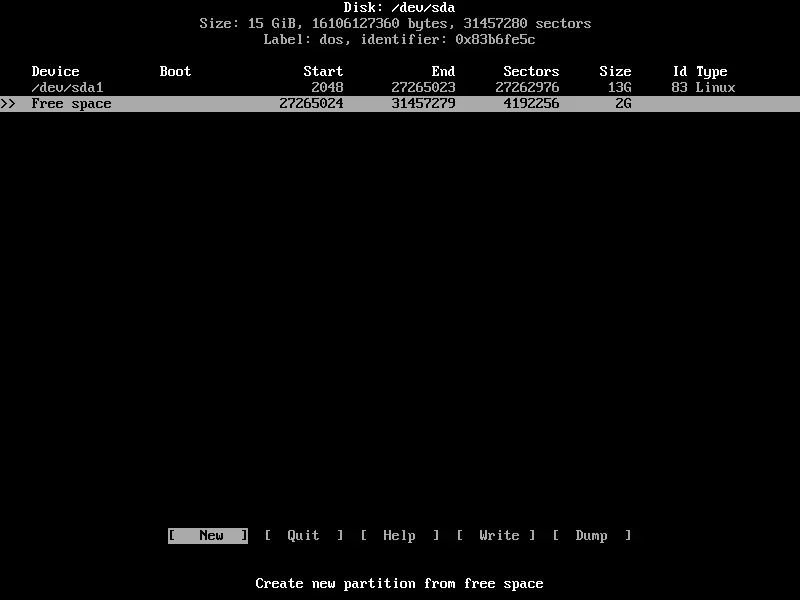
Make the second partition the last 2G of space
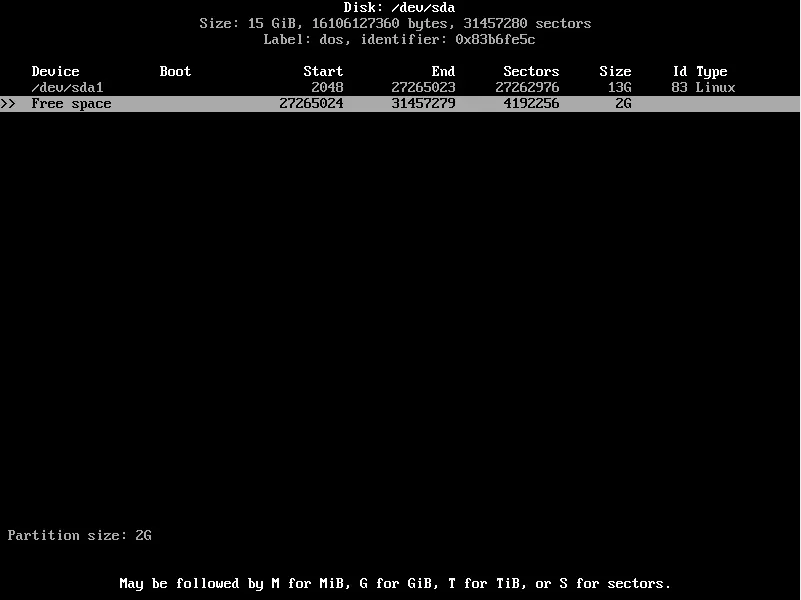
Chose this as “Primary”

Chose /dev/sda2 and go to “Type”
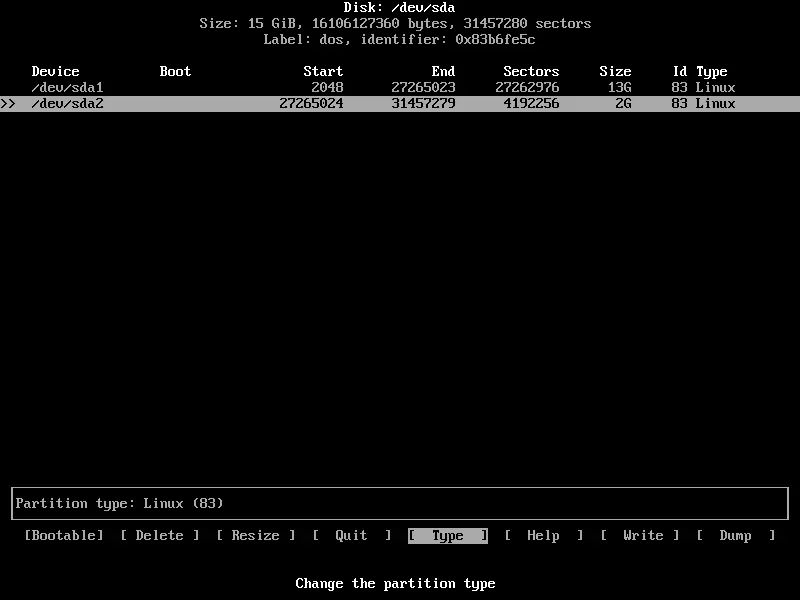
Select “82 Linux Swap”

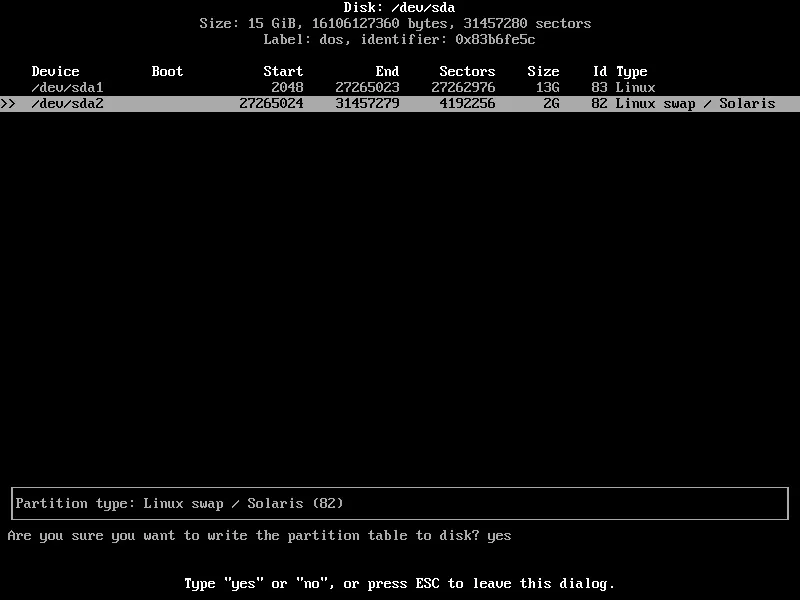
Go to “Write” press enter end type “yes” for it to make changes and then “Quit”
If you type “lsblk” again you can see your 2 partitions you have just made.
  lsblk
  loop0 7:0 0 529.7M  1 loop0/run/archiso/sfs/airootfs
  sda   8:0 0    15G  0 disk
  |-sda1
  |-sda2
after this you have to format your first partition and make the second one a swap drive.
  mkfs.ext4 /dev/sda1
  mkswap    /dev/sda2
  swapon    /dev/sda2
Then you’re going to mount the first partition.
mount /dev/sda1 /mnt
Base installation
To install Arch base package run following command.
pacstrap /mnt base linux linux-firmware
After the installation you will generate an fstab.
genfstab -U /mnt >> /mnt/etc/fstab
change root into the new system
arch-chroot /mnt
now you are setting the correct time zone
ln -sf /usr/share/zoneinfo/Region/City /etc/localtime
run hwclock to gen adjtime
hwclock --systohc
run locale-gen
locale-gen
now you will install an editor
pacman -S vim
Press Y and then enter to install.
Use vim to create and edit the locale.conf.
Press " i " to insert text and escape to stop.
  vim /etc/locale.conf
  LANG=en_US.UTF-8
  :wq!
" :wq! " is what you use to save and exit the editor.
Use vim to edit your keyboard layout.
  vim /etc/vconsole.conf
  KEYMAP=sv-latin1
Create and edit an hostname file. I’m naming the machine “vm”
  vim /etc/hostname
  vm
Now you are adding entries to your host file.
  vim /etc/hosts
  127.0.0.1	localhost
  ::1	    	localhost
  127.0.1.1	vm.localdomain	vm
Next you have to set your root password.
passwd
Bootloader
We are going to install and use grub as our bootloader.
  pacman -S grub
  grub-install --target=i386-pc /dev/sda
  grub-mkconfig -o /boot/grub/grub.cfg
Install dhcpcd as our dhcp client and reboot the machine.
  pacman -S dhcpcd
  systemctl enable dhcpcd
  exit
  reboot
Now you will see a login screen and the installation is complete.

User and Group creation
Arch wiki about user and group management.
You can create a user with a homefolder with following:
useradd -m steve
Then you have to give that user a password.
passwd steve
After that you have to give your user some groups
usermod -aG wheel,audio,disk,optical,storage,video steve
Sudo
To add a user to sudo you first need to install it.
pacman -S Sudo
Then you need to change in the sudoers file.
vim /etc/sudoers
Uncomment.
%wheel ALL=(ALL) all
All user that belong to the wheel group now has admin rights.
Use sudo before your command to run it as a super user.
sudo pacman -Syu